Most people have a love/hate relationship with opt-in forms.
As a visitor to a website, they can be incredibly annoying … especially when they keep popping over what you're trying to read.
But, as the site owner, we know those pop-up opt-in forms tend to work. So, we keep showing them.
This creates an interesting dichotomy, but that's beyond the scope of this particular article.
In this article we'll talk about opt-in form tools, triggers, and types.
Related Course: How To Build Opt-in Forms And Landing Pages That Convert
Opt-in Form Tools
You really only need one opt-in form tool and the one you use is determined by your platform.
WordPress | Thrive Leads
If your website is powered by WordPress, the best opt-in form plugin you can grab is Thrive Leads.
Why? It's incredibly powerful.
It allows you to build any type of opt-in form you can imagine, conduct split tests, page targeting, and beyond.
Click here to check out their sales page and to learn more about their features.
Any Other Platform | OptinMonster
If your website is powered by anything other than WordPress (ie. Shopify, Big Commerce, custom coded, etc.), the best opt-in form tool you can grab is OptinMonster.
It's essentially just like ThriveLeads; however, it can work anywhere … which is great for sites that aren't powered by WordPress!
Click here to check out their sales page and to learn more about their features.
Note: Since OptinMonster works anywhere, it will work on WordPress too. If you run sites on multiple platforms, it would be best to just get OptinMonster.
Display Triggers
Both, Thrive Leads and OptinMonster have very similar triggers. While the particular name of the trigger may change – SmartExit+ vs. Exit Intent Technology – the general function of the trigger remains the same (ie. display upon exit).
Below are the four triggers functions both opt-in tools offer.
Timed Triggers
From immediately to 30 seconds or more, you can choose when your opt-in form shows itself.
If you don't have a reason to have your opt-in form display immediately, a good rule of thumb is to give the visitor about 10 seconds to get into your material before greeting them with the opt-in form.
Exit Triggers
An exit trigger can only occur on desktop and it's when a visitor's cursor leaves the browser window.
Typically, the only reason the cursor would leave the browser window is because they're about to hit the “back” button or navigate off your site.
As a last-ditch effort, you can display an opt-in form to try and collect the visitor's contact information.
Click Triggers
Click triggers are really popular because they show intent, which typically leads to much higher conversion rates.
Instead of blindly displaying an opt-in form after 10 seconds, a click triggered opt-in form is displayed after an individual clicks a link, button, or image.
Scroll Triggers
Scroll triggers are used to display opt-in forms after an individual has scrolled down a percentage of a page or past a certain point.
For example, you could have an opt-in form display after the visitor has scrolled down 75% of the page. Ideally, this means they've read 75% of the page, are therefore highly interested in what you're talking about, and more apt to opt-in.
Types Of Opt-In Forms
Pop-up LightBox
The “classic” opt-in form.
Although they're kind of annoying, you see this type of opt-in form everywhere … because they work!
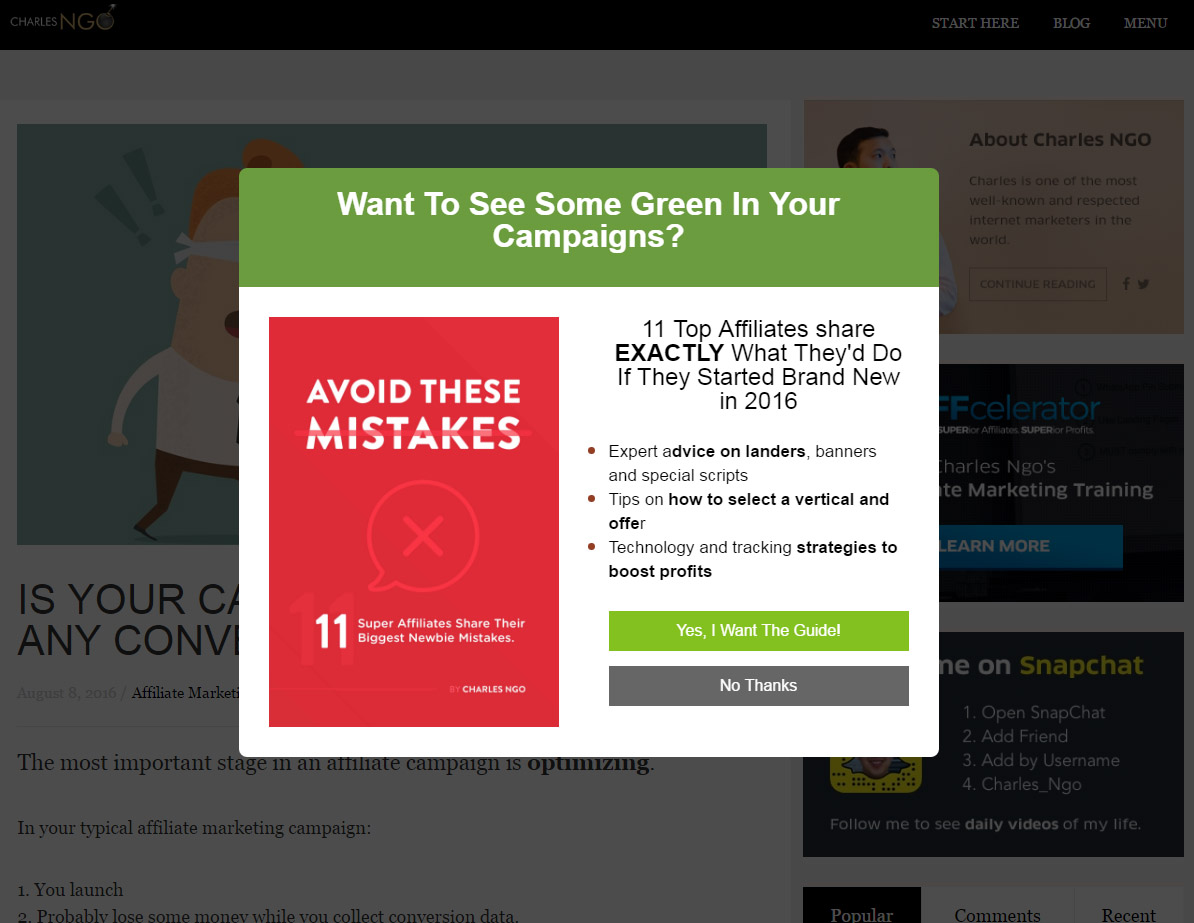
Example From Charles NGO
In-Line / After Post
These opt-in forms “blend” in with the content.
They're nice because they don't hinder the visitor's experience, yet they still provide an easy way to opt-in for your lead magnet.
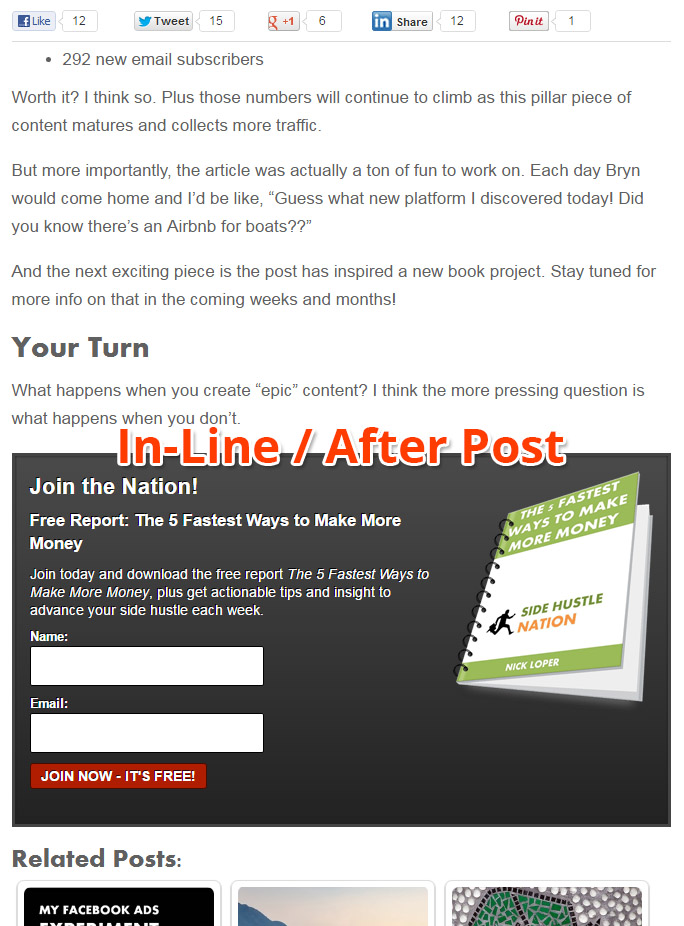
Example From Side Hustle Nation
Widgets / Side Bar
Very similar to in-line opt-in forms because they're “just there.” They don't pop-in or slide, but are “just there” in the sidebar or widget area of a site.
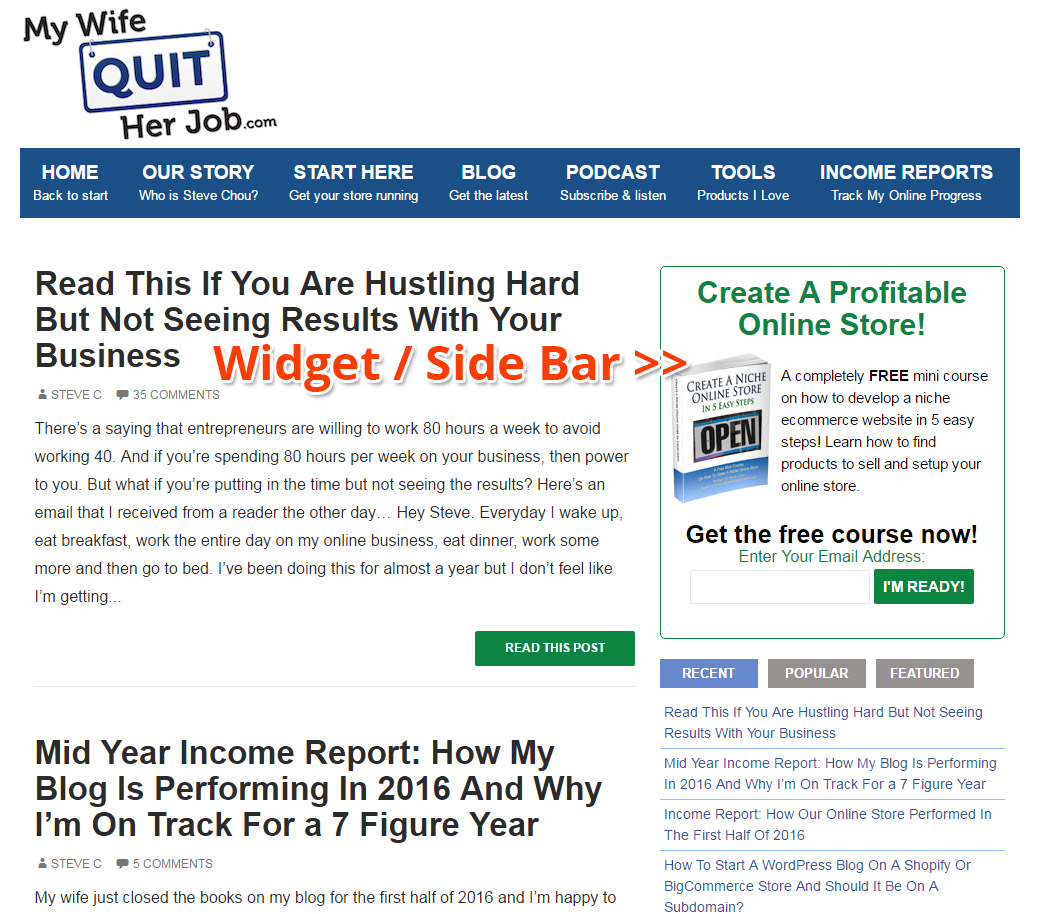
Example From My Wife Quit Her Job
Ribbons/Bar
These opt-in bars or ribbons go across the top or bottom of the page and are typically “locked in place” (they scroll with the page).
These are great because they allow you to share your Lead Magnet without being obnoxious by popping up a lightbox or a screen overlay.

Example From ProBlogger
Slide-In
This type of opt-in form “slides” into view. They're typically in the corners of pages; however, they can take over an entire side too!
These are great because they can be fairly unobtrusive while still catching people's attention.
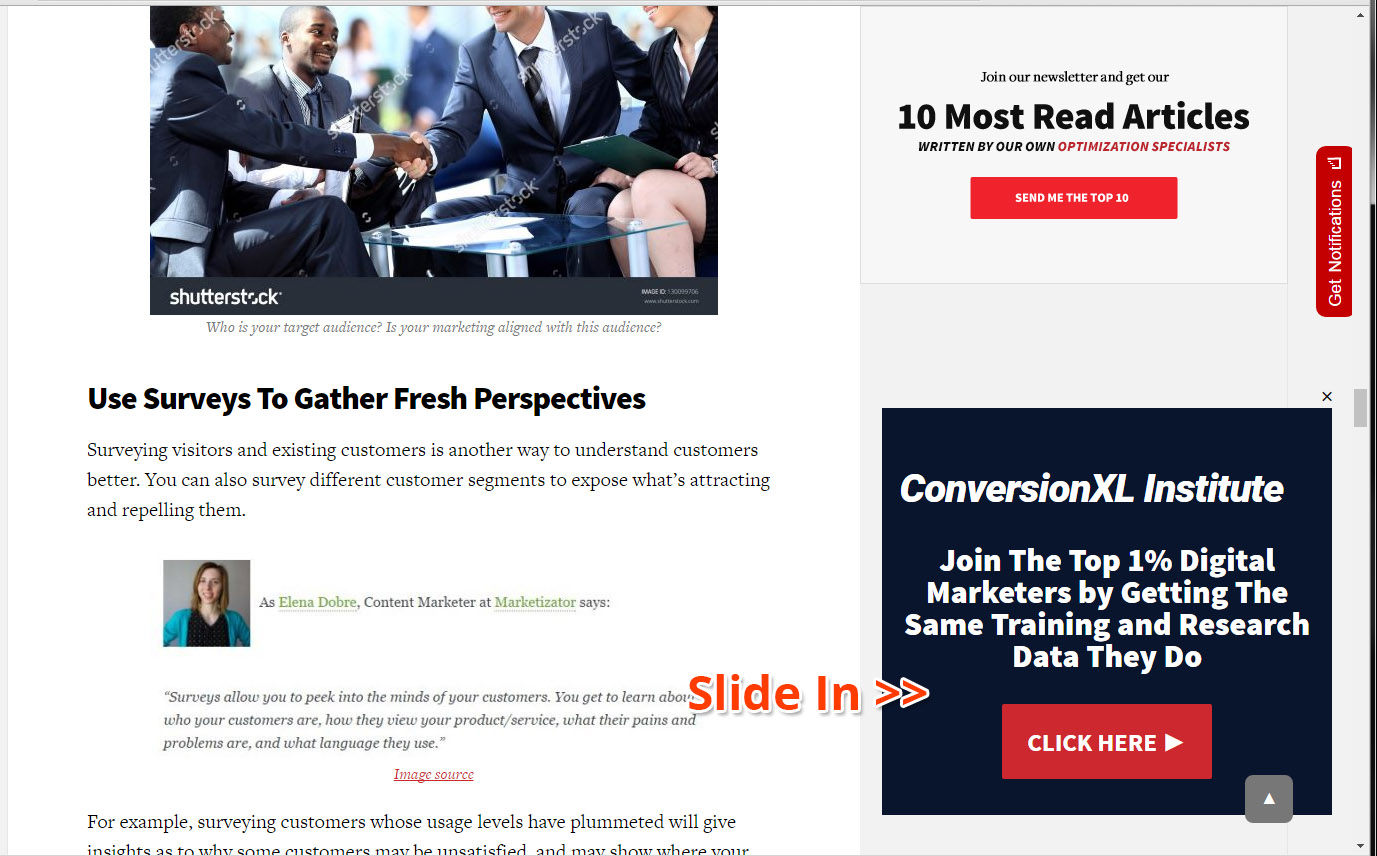
Example From ConversionXL
Screen Overlays/Takeovers
This type of opt-in form takes over the entire page, leaving the individual two options – to opt-in or to close it.
These tend to work very well because you can't miss 'em.
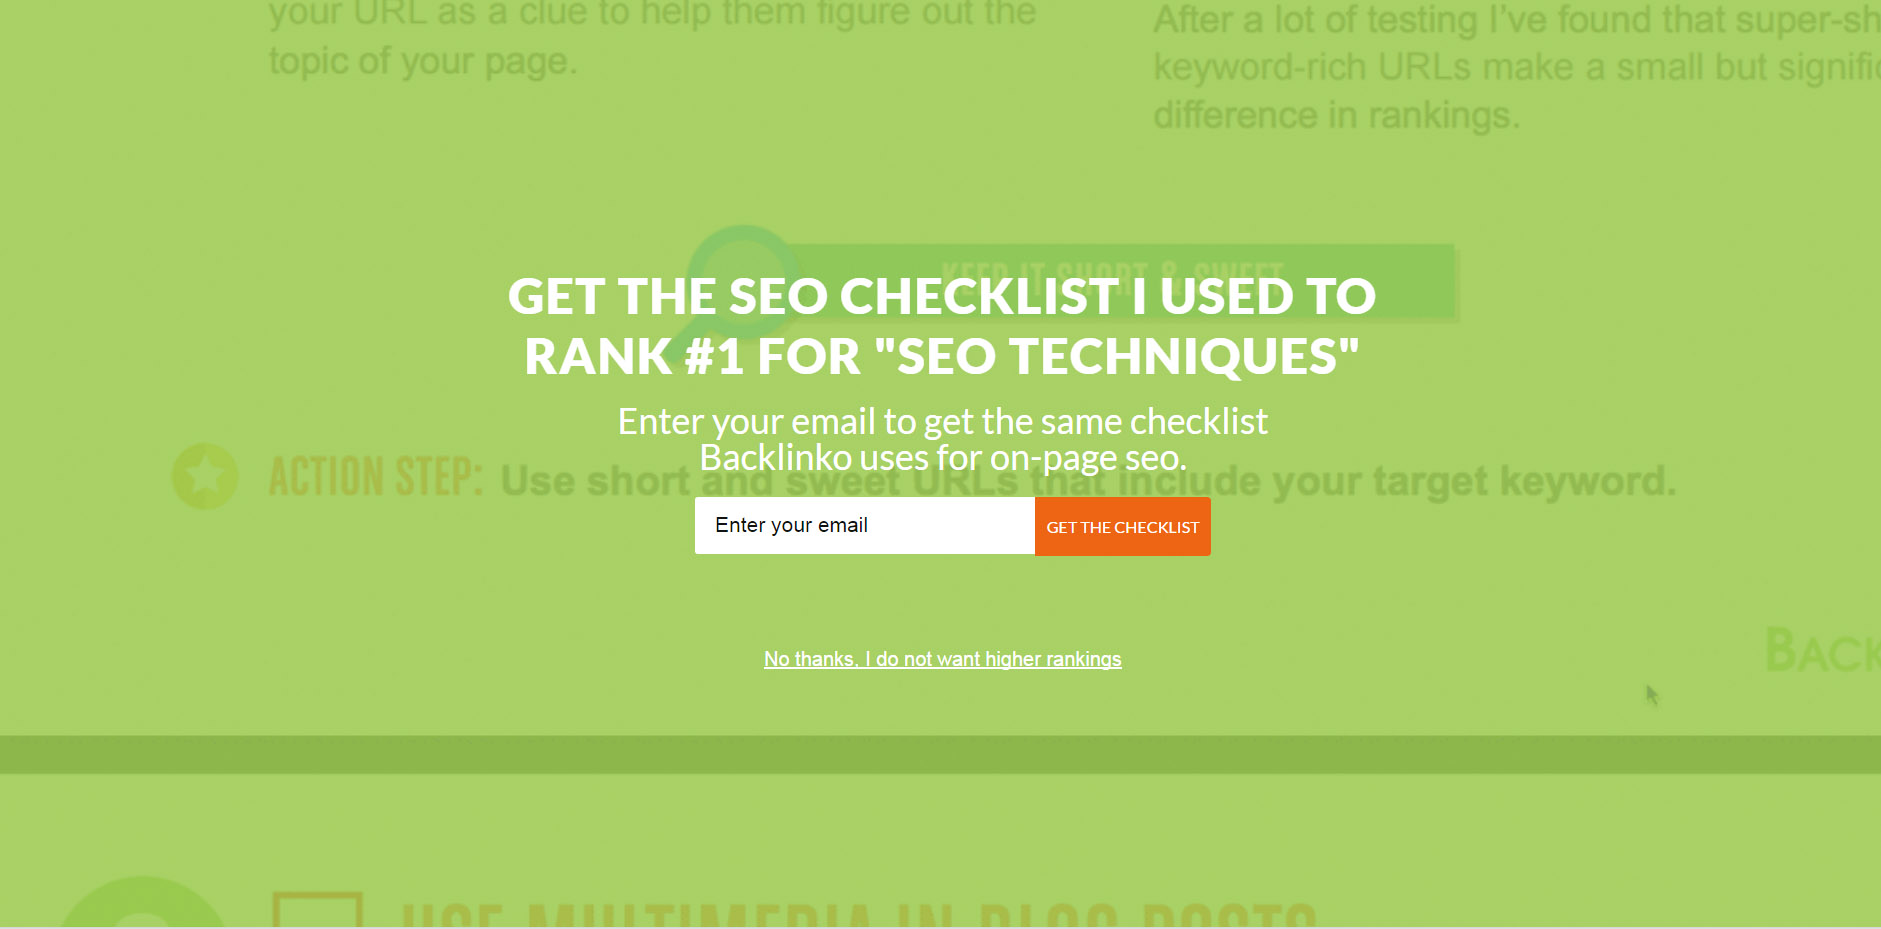
Example From BACKLINKO
Scroll/Welcome Mats
This type of opt-in form is similar to a screen overlay/takeover in that it consumes the entire page; however, it's different because you can either opt-in or scroll down (as opposed to close it).
Scroll/welcome mats give visitors the ability to scroll down which makes the opt-in form a little less obtrusive; they don't have to “hunt” around for a close button … they just have to scroll down.
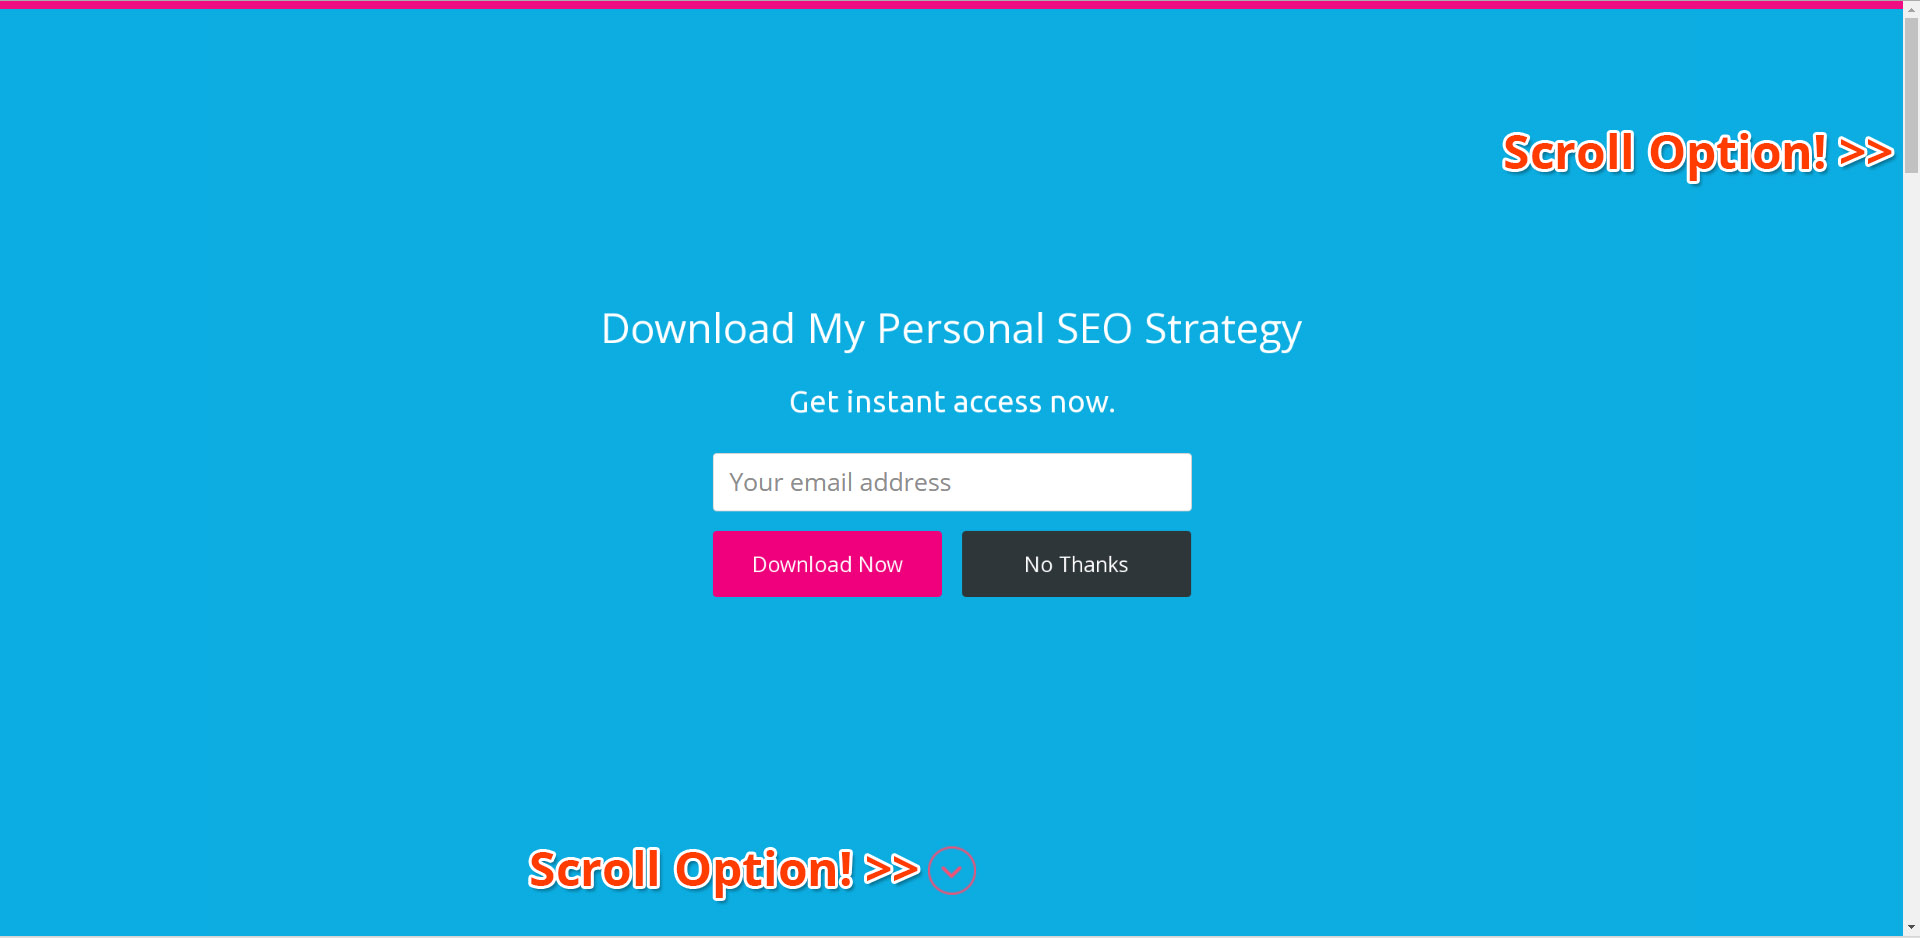
Example From Matthew Woodward
Content Locks
This type of opt-in form is pretty cool because it allows you to protect a piece of content until the individual enters their email address.
This is a great way to offer “content upgrades” to blog posts.
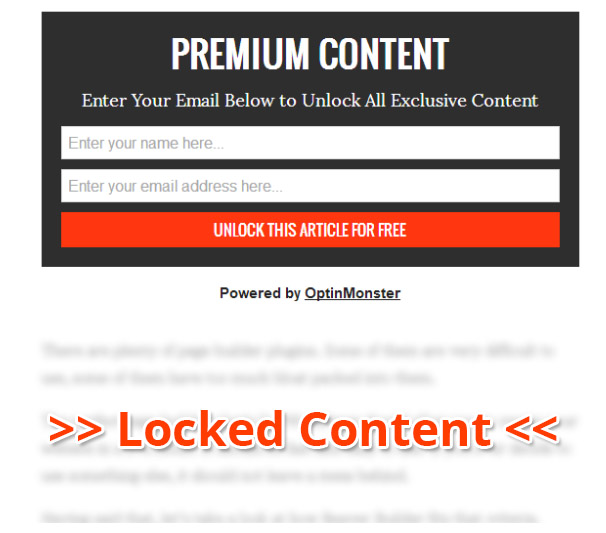
Example From OptinMonster
Conclusion
Now that you know the tools, triggers, and types of opt-in forms … what's stopping you from getting started?
Related Course: How To Build Opt-in Forms And Landing Pages That Convert